Pool Waterline Tile Replacement: Enhance Your Swimming Pool’s Aesthetic and Functionality
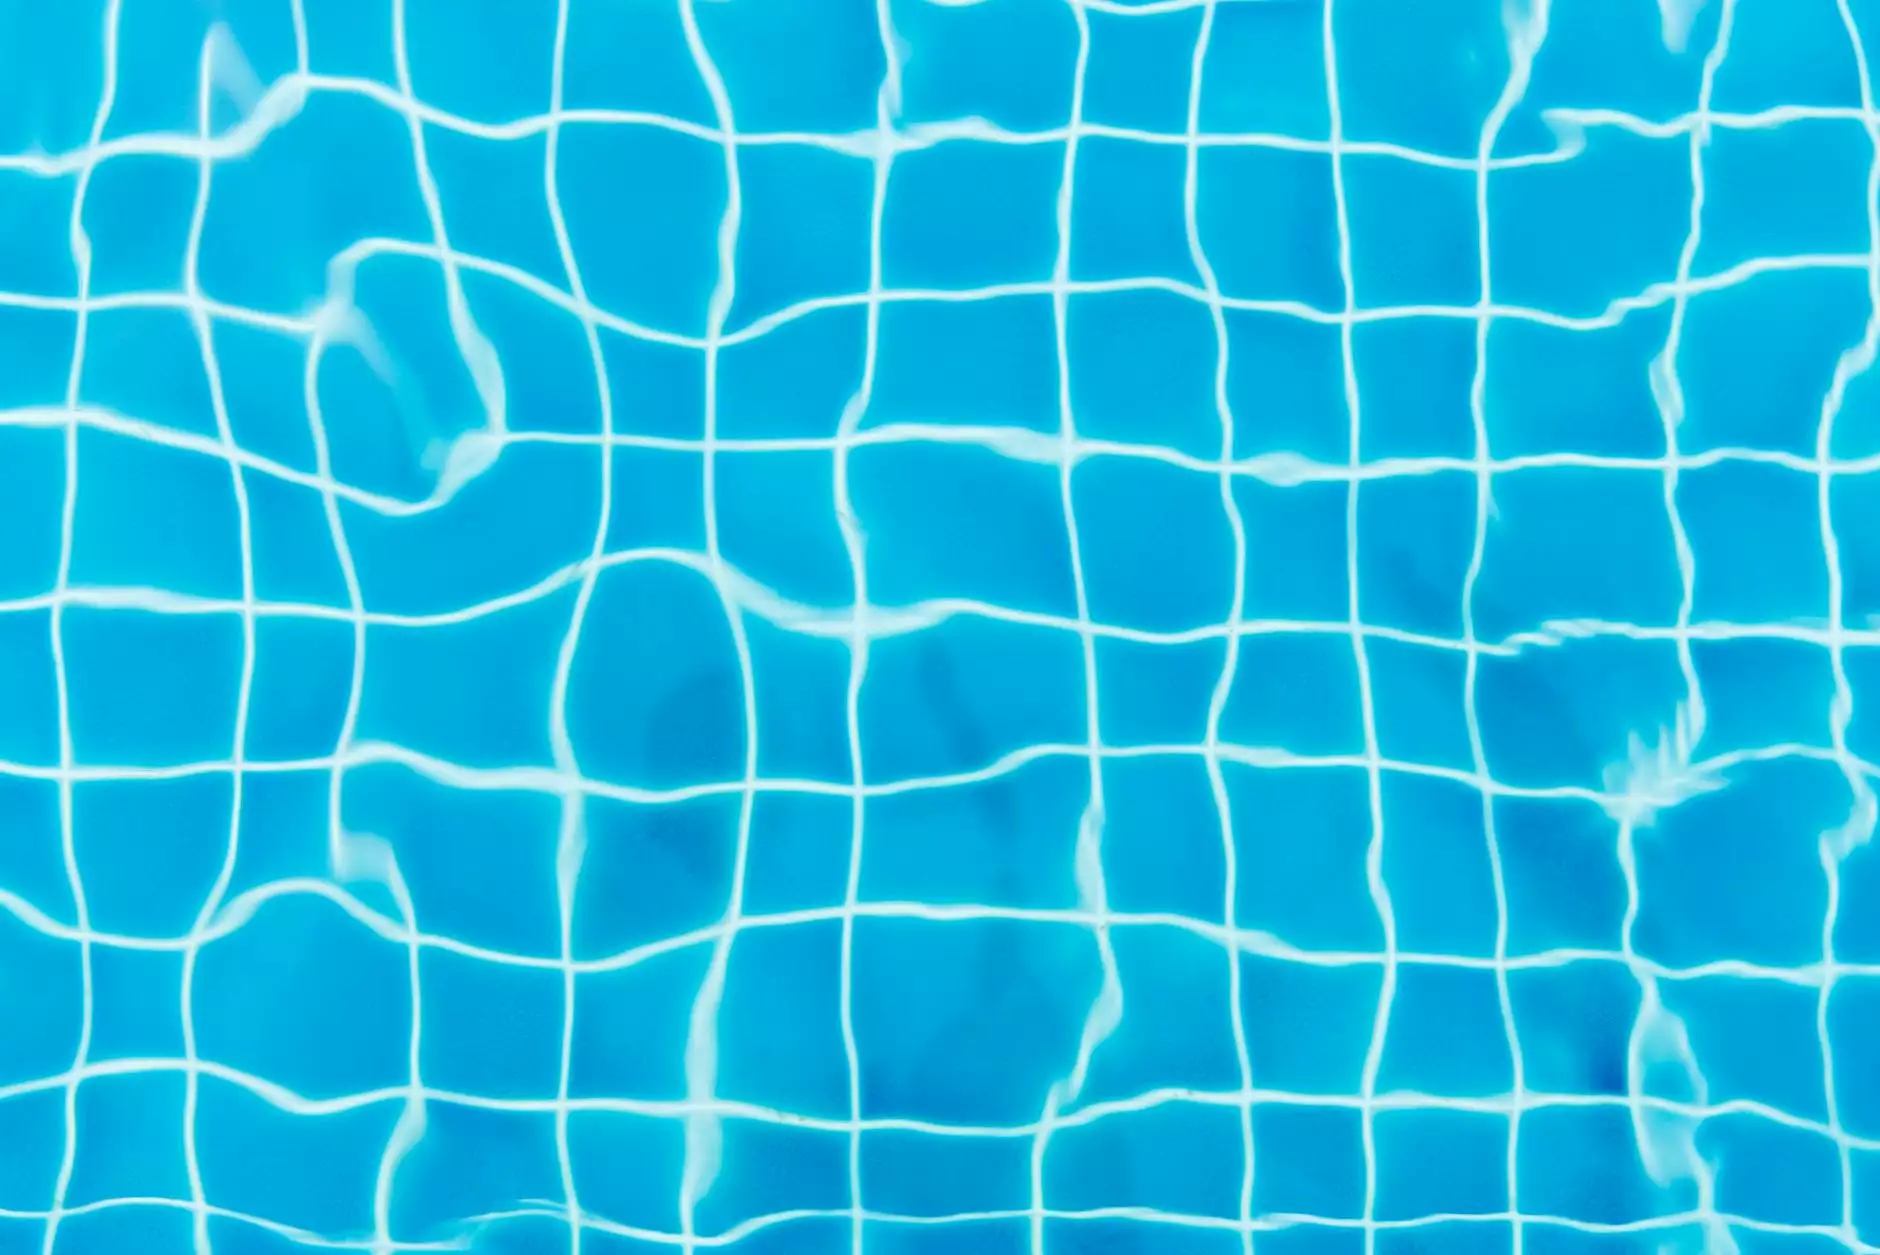
The splendor of a swimming pool lies not only in its crystal-clear waters but also in its surrounding aesthetics. One significant aspect that contributes to this beauty is the waterline tile. Over time, these tiles may need replacement due to wear and tear, fading colors, or even damage. In this comprehensive guide, we will delve deep into the intricacies of pool waterline tile replacement, exploring its importance, process, and maintenance tips to help keep your pool looking fabulous.
Why *Pool Waterline Tile Replacement* is Essential
Understanding why you should consider pool waterline tile replacement is crucial for maintaining the overall health and appearance of your swimming pool. Here are some compelling reasons:
- Aesthetic Appeal: Fresh, vibrant tiles can dramatically enhance the visual appeal of your pool, creating an inviting atmosphere.
- Prevent Water Damage: Damaged tiles can allow water to seep behind them, leading to structural damage over time.
- Maintain Hygiene: Old tiles can harbor algae and grime, compromising the cleanliness and safety of your pool.
- Increase Property Value: A beautifully maintained pool can significantly increase the value of your property.
Signs That You Need *Pool Waterline Tile Replacement*
Knowing when to replace your pool waterline tiles is critical. Here are several signs that indicate it’s time for a replacement:
- Cracked or Broken Tiles: Visible cracks or missing tiles are obvious indicators that your pool requires urgent attention.
- Fading Colors: Uneven or fading colors can suggest that your tiles are aged and need a fresh look.
- Stains and Discoloration: Persistent stains that can't be cleaned may require you to consider new tiles.
- Loose Tiles: If some tiles feel loose or wobbly, they may need to be replaced to prevent further damage.
The Benefits of *Replacing Pool Waterline Tiles*
Investing in pool waterline tile replacement can yield numerous benefits:
1. Enhanced Visual Appeal
The right tiles can complement your backyard aesthetics, adding elegance and sophistication. Choose from a variety of colors, designs, and materials to create a pool that is uniquely yours.
2. Improved Durability
Newer tile materials are often designed to withstand harsh conditions, including UV rays, chemicals, and changing weather, ensuring your pool looks good for many seasons.
3. Increased Safety
Replacing old tiles can also enhance safety features. Many new tiles come with non-slip surfaces, reducing the chances of slips and falls around wet areas.
The *Pool Waterline Tile Replacement Process*
Replacing your pool waterline tiles isn't just about aesthetics; it's a complicated process that requires careful planning and execution. Here’s a step-by-step breakdown of the pool waterline tile replacement process:
Step 1: Assessment
Begin with a thorough assessment of the existing tiles. Check for any underlying issues like water leaks or wall deterioration. This is crucial to prevent recurring problems in the future.
Step 2: Removal of Old Tiles
Use proper tools to carefully remove the existing tiles. This might involve chiseling them away or using a tile removal tool. Ensure that you do not damage the pool structure underneath.
Step 3: Surface Preparation
Once the old tiles are removed, clean the surface thoroughly. This can include scraping off any adhesive or grout residue and ensuring the surface is smooth and ready for new tiles.
Step 4: Choosing the Right Tiles
Select waterline tiles that match your style. Consider materials like ceramic, glass, or porcelain, each of which has specific advantages and aesthetic appeal. Ensure that the chosen tiles are suitable for pool environments and are durable.
Step 5: Installation
Using a waterproof adhesive, carefully install the new tiles. Arrange them according to your desired layout and design. Make sure they are aligned and level to avoid any unevenness.
Step 6: Grouting and Sealing
Once the tiles are set, apply a grout suitable for wet areas. After the grout has cured, it’s advisable to apply a sealant to protect against moisture and staining.
Step 7: Final Inspection and Cleaning
Inspect the work to ensure everything is sealed and secure. Clean the tiles to remove any grout haze, leaving a pristine surface ready for use.
Maintaining Your New Pool Waterline Tiles
To keep your newly installed tiles looking fresh and new, adopt a consistent maintenance routine:
- Regular Cleaning: Use a soft brush or cloth, along with mild cleaning solutions, to keep the tiles free from dirt and stains.
- Check for Damage: Regularly inspect the tiles for cracks or looseness and address issues immediately to prevent more extensive repairs.
- Water Chemistry: Maintaining proper water chemistry reduces the risk of staining and damage to tiles.
Conclusion
In conclusion, pool waterline tile replacement is a significant investment that can transform the appearance and functionality of your swimming pool. By understanding the benefits and carefully following the replacement process, you can ensure your pool remains a prominent feature of your home.
Don't overlook the impact of well-maintained tiles on the overall appeal and safety of your swimming pool. For expert services and assistance with your pool renovation needs, visit poolrenovation.com, your go-to destination for top-notch swimming pool maintenance and enhancements.